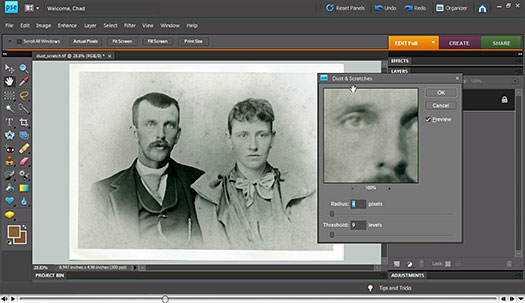
Clone a great tool to use when you want to remove something or add to your digital photos. Whether it's removing unwanted parts, or just trying to improve the wear wrinkles, or writing, using Adobe Photoshop clone tool is a very useful tool for making small or large changes in digital images.
Step 1: In Photoshop, select the clone stamp. It is located along the toolbar, and looks like a rubber stamp.
Step 2: Select the brush type and size. You can use it in your toolbar. Once you click on the brush, the larger opening. This gives you a slider to adjust the brush diameter, hardness, select, and will also allow you the kind of brush to use to select.
You can type brush edges harder or softer edges. The more soft "fuzzy" edges gives a softer line that makes mixing a little easier. The size determines the diameter of the effects of clones. You will probably change brush size depending on what you are trying to clone from. The smaller the area, the smaller the tip you will want to use.Step 1: In Photoshop, select the clone stamp. It is located along the toolbar, and looks like a rubber stamp.
Step 2: Select the brush type and size. You can use it in your toolbar. Once you click on the brush, the larger opening. This gives you a slider to adjust the brush diameter, hardness, select, and will also allow you the kind of brush to use to select.
Step 3: Cloning means that replacing the pixels of a pixel of the image with the other parts of the image, which is generally referred to as "sample" you. First you need a "monster" that you choose. To do this, you hold down the ALT key and click with the mouse on the color you want. You now have your sample selected for cloning.
You will notice that after the "monster" you chose when you hover over a portion of your image you should see your sample in the brush tool. This will show you how it will look like you clones in a certain place. Click your mouse on the spot and repeat until you've achieved the desired result. Now you have successfully removed the unwanted parts or a digital image using the clone tool.
Tips to remember:
You do not want to clone out much at once, you want to slowly work around the unwanted parts.
Take your sample as close as possible unwanted parts. This will be the closest color and lighting.
If you clone an item and you do not like how it looks, just press CTRL + ALT + Z to go back.
If you have hard edges left of the clones, use a healing to smooth over those rough spots.
Tidak ada komentar:
Posting Komentar